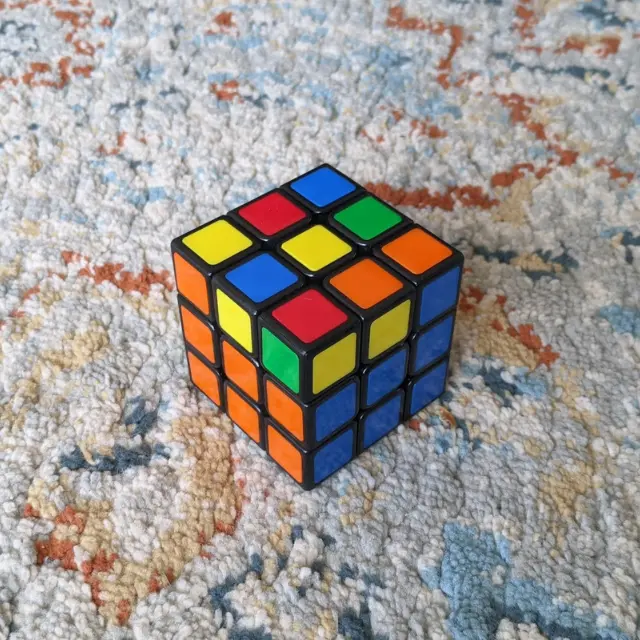
You have been at this for a while. The bottom layer is done — a clean white face with all the edges matching their centers. The middle layer fell into place after some fiddling. You are two-thirds through a Rubik’s Cube solve and feeling genuinely good about it.
Then you flip the cube over, look at the yellow layer, and everything falls apart.
Welcome to the last layer. This is where learning the Rubik’s Cube stops being a puzzle and starts being a test of faith. And it is where the vast majority of people — beginners, adults coming back to it after years, parents trying to help their kids — give up.
The Difficulty Cliff
The first two layers of the Rubik’s Cube are relatively intuitive. You can look at a piece, see where it needs to go, and with some trial and error, figure out how to get it there. You might not do it efficiently, but you can reason your way through it.
The last layer is a fundamentally different challenge. Here is why.
Every move breaks something
On the first two layers, you could move pieces around the top without worrying too much about the bottom. The solved sections stayed safe below while you worked above them.
On the last layer, that safety net disappears. Every face turn you make now affects pieces in the already-solved layers below. If you move a yellow corner into place, you might knock a middle-layer edge out of position. If you try to fix that edge, you might displace a first-layer corner.
This is why you cannot logic your way through the last layer. You need sequences of moves — algorithms — that are specifically designed to manipulate the top layer while leaving everything below untouched. These algorithms are not intuitive. They were discovered through mathematical analysis, not common sense.
The shift from thinking to trusting
For the first two layers, your brain was engaged: look at the piece, think about where it goes, figure out the moves. You understood what you were doing.
For the last layer, you are asked to do something completely different: memorize a sequence of 6 to 12 moves and execute them on faith, without understanding why they work. For many people — especially adults who like to understand things before they do them — this shift feels deeply unsatisfying.
One Reddit user who tried to solve the last layer without any outside help described the experience: “The final corner orientation took a LOT of grinding out various algorithms. The first time I solved it, the final algorithm I devised was 78 moves long.”
The beginner method simplifies this to about 4 short algorithms. But even those can feel like random noise if nobody explains what they accomplish.
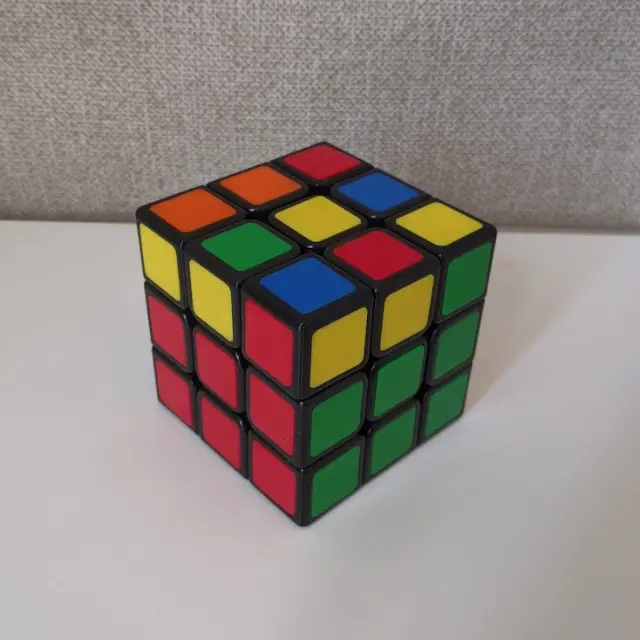 Above: Two layers done. The yellow layer is where logic stops working and memorized algorithms begin. This is the single most common quit-point for beginners.
The Four Sub-Steps (And Where Each One Breaks People)
In the standard beginner method, the last layer is solved in four sub-steps. Each one has a specific moment where beginners get tripped up.
Seeing letter sequences like R U R’ below? Don’t panic — you do not need to memorize these. This section explains where other people get stuck so you can understand the pattern. If notation feels overwhelming, that is completely normal. We have a full plain-English guide to what the letters mean, and CubeUnstuck replaces all of this with visual arrows so you never have to decode a single letter.
Step 1: Make the Yellow Cross
Goal: Get four yellow edges facing up, forming a cross on the top face.
The moves: F R U R’ U’ F’ (repeated as needed depending on your starting position)
Where people get stuck: This step has three possible starting cases — a dot (no yellow edges up), an L-shape (two yellow edges up forming a corner), and a line (two yellow edges up in a row). Each case requires the same algorithm, but with a different starting orientation. Beginners often apply the algorithm with the cube held the wrong way, which produces unexpected results and erodes confidence.
Step 2: Position the Yellow Edges
Goal: Move the cross edges so each one matches the center color of its side face.
The moves: R U R’ U R U2 R’
Where people get stuck: After the yellow cross is done, you need to identify which edges are already aligned and which need to swap. This requires rotating the top layer to check different arrangements, which feels like undoing your work. Many beginners panic when they turn the top and the cross looks “wrong” — not realizing they are just checking positions, not breaking anything.
Step 3: Position the Yellow Corners
Goal: Get each corner piece into the correct position (right place, possibly wrong orientation).
The moves: U R U’ L’ U R’ U’ L
Where people get stuck: This is the first step that feels truly opaque. The algorithm cycles three corners while leaving one in place. You need to identify which corner is already in the right position and hold it in a specific spot (the front-right-top corner) before running the algorithm. If you cannot find a correctly placed corner, you run the algorithm once from any position, and then one will appear. This two-phase logic is confusing for beginners who expect a single, clear instruction.
Step 4: Orient the Yellow Corners (The Final Boss)
Goal: Twist each corner so the yellow sticker faces up, completing the cube.
The moves: R’ D’ R D (repeated 2 or 4 times per corner)
Where people get stuck: This is the step that destroys the most beginners. Here is why. (And if these letters mean nothing to you — that is fine. The point of this section is to show you where the trap is, not to teach you the notation.)
This four-move sequence, when you repeat it, rotates the front-right corner in place — but it also temporarily scrambles the first two layers. The entire bottom of the cube looks like a disaster while you are working. This is by design — the layers fix themselves once all four corners are oriented — but it looks like you have ruined everything.
The three most common fatal mistakes at this step, confirmed across multiple cubing communities:
-
Skipping the last move in the sequence. When the yellow sticker arrives on top, it is incredibly tempting to immediately move to the next corner. But the sequence has four moves, and that final turn is essential. Skipping it genuinely scrambles the cube.
-
Rotating the entire cube instead of just the top layer. After orienting one corner, you need to move the next unfinished corner into position by turning only the top layer. Many beginners instinctively rotate the whole cube in their hands, which breaks the internal tracking and scrambles everything.
-
Panicking at the scrambled bottom layers. When the first two layers look destroyed mid-algorithm, beginners often stop, convinced they have made a mistake. But the scrambling is temporary — it resolves when all corners are done. Quitting mid-step is what actually causes the damage.
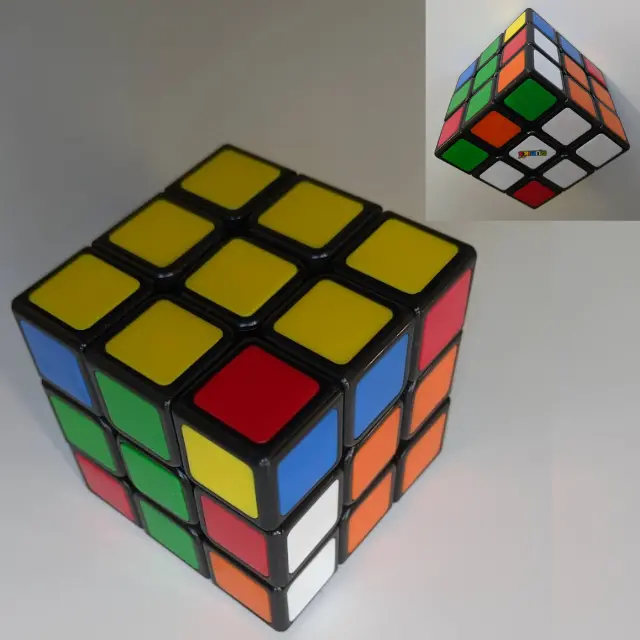 Above: During the final corner-orientation step, the bottom layers look completely scrambled. This is normal and temporary — but it causes most beginners to panic and quit.
The Hidden Danger: A Broken Cube Looks Exactly Like a Failed Solve
Here is the cruelest part of the last layer. If your cube has a physical defect — a single twisted corner — you will not discover it until this exact step.
A twisted corner allows you to solve the first two layers perfectly. The yellow cross goes in fine. Edge positioning works. Corner positioning works. But when you reach the final corner orientation step, one corner simply will not resolve. You run R’ D’ R D over and over. The same corner keeps ending up wrong. You start over. Same result. You watch another tutorial. Same result.
You are not making a mistake. The cube is broken. But the defect is invisible until this precise moment.
This is, by far, the number one reason people rage-quit the Rubik’s Cube at the last step. They are running a correct algorithm on a physically impossible cube, and every tutorial they find tells them to “try again more carefully.”
For a full explanation of how to identify and fix this problem, see: Twisted Corner on a Rubik’s Cube: Why It’s Unsolvable
How CubeUnstuck Gets You Through the Last Layer
The last layer is hard because of three things: the algorithms are unintuitive, the visual feedback is terrifying (scrambled bottom layers), and a broken cube is indistinguishable from a failed attempt. CubeUnstuck addresses all three.
Before you start: Diagnostic scan
CubeUnstuck scans your cube before the solve begins and runs a mathematical validation. If you have a twisted corner, it tells you immediately — before you spend an hour reaching the last layer only to discover an impossible state. This alone eliminates the single most demoralizing failure mode.
During the last layer: The Sandwich Method
Instead of dumping the last-layer algorithms on you and saying “good luck,” CubeUnstuck breaks each move into three phases:
-
Observation: The app dims the cube and highlights specific pieces. “See this yellow-green edge? It needs to move to the green side.” You understand the goal before any turning happens.
-
Action: A glowing rotation halo appears around the face you need to turn, spinning in the correct direction. You turn one face. The app shows the result.
-
Confirmation: The app highlights what just changed. “See how the green edge now matches the green center?” You understand what the move accomplished.
This rhythm — observe, act, confirm — replaces blind memorization with genuine understanding. When the bottom layers look scrambled during Step 4, the app continues to show you the expected state, so you can see that the chaos is planned and temporary.
Hands-free guidance
Every step includes voice narration. You do not need to put the cube down to check a screen. “Turn the right face down. Turn the bottom away from you. Turn the right face up. Turn the bottom toward you.” Your hands stay on the cube. Your eyes stay on the puzzle.
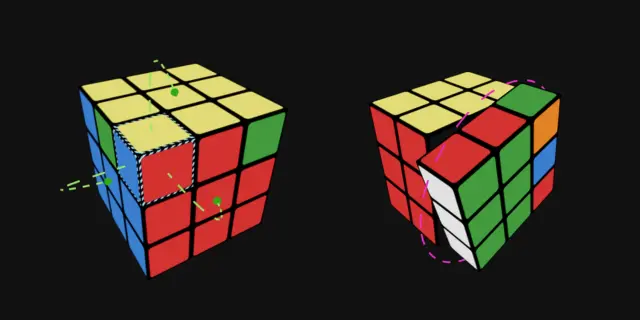 Above: CubeUnstuck breaks the last layer into observe-act-confirm steps. Instead of memorizing algorithms, you follow visual cues one move at a time.
The Other Side of the Wall
Here is what nobody tells you about the last layer: once you get through it the first time, the second time takes half as long. By the third time, your fingers start moving before your brain finishes thinking. By the fifth time, the algorithms feel less like random sequences and more like muscle memory.
The last layer is a wall, not a ceiling. You hit it once, you struggle, and then you are past it. The cubers who can solve the entire puzzle in under a minute went through the same wall you are facing right now. They just had a method that got them to the other side.